
Signing up to Tripix
Complete guide to creating your Tripix account and getting started
1. Claim Your Store Handle
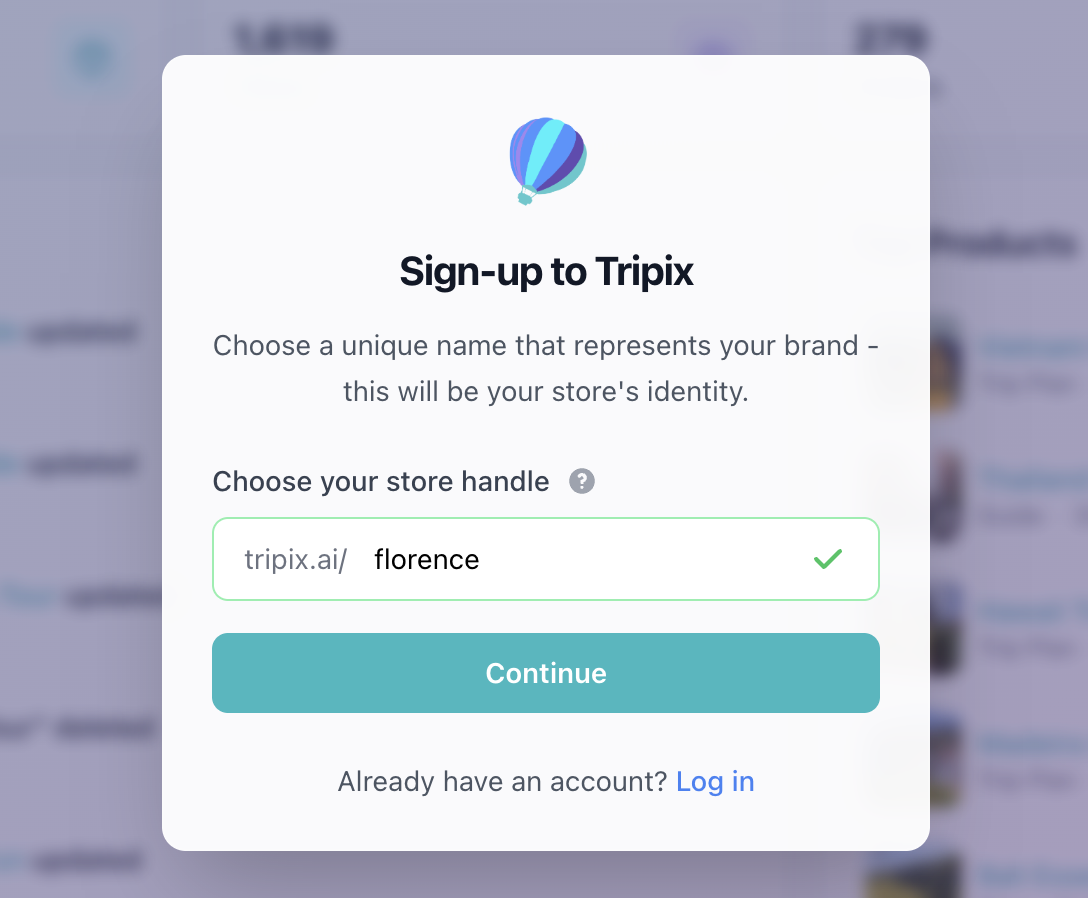
The first step in setting up your creator store is choosing a unique store handle. This will be your store's identity and will appear in your store URL.
Choose a unique name that represents your brand - this will be your store's identity. Think of something memorable that reflects your travel style or expertise.
Your store handle must meet these requirements:
- 3-30 characters long
- Only letters, numbers, hyphens, and underscores
- Cannot be only hyphens or underscores
If you see that the store handle you selected is already taken, choose another one. Try variations like adding your location, travel style, or a unique identifier to make it yours.
2. Provide Your Account Details
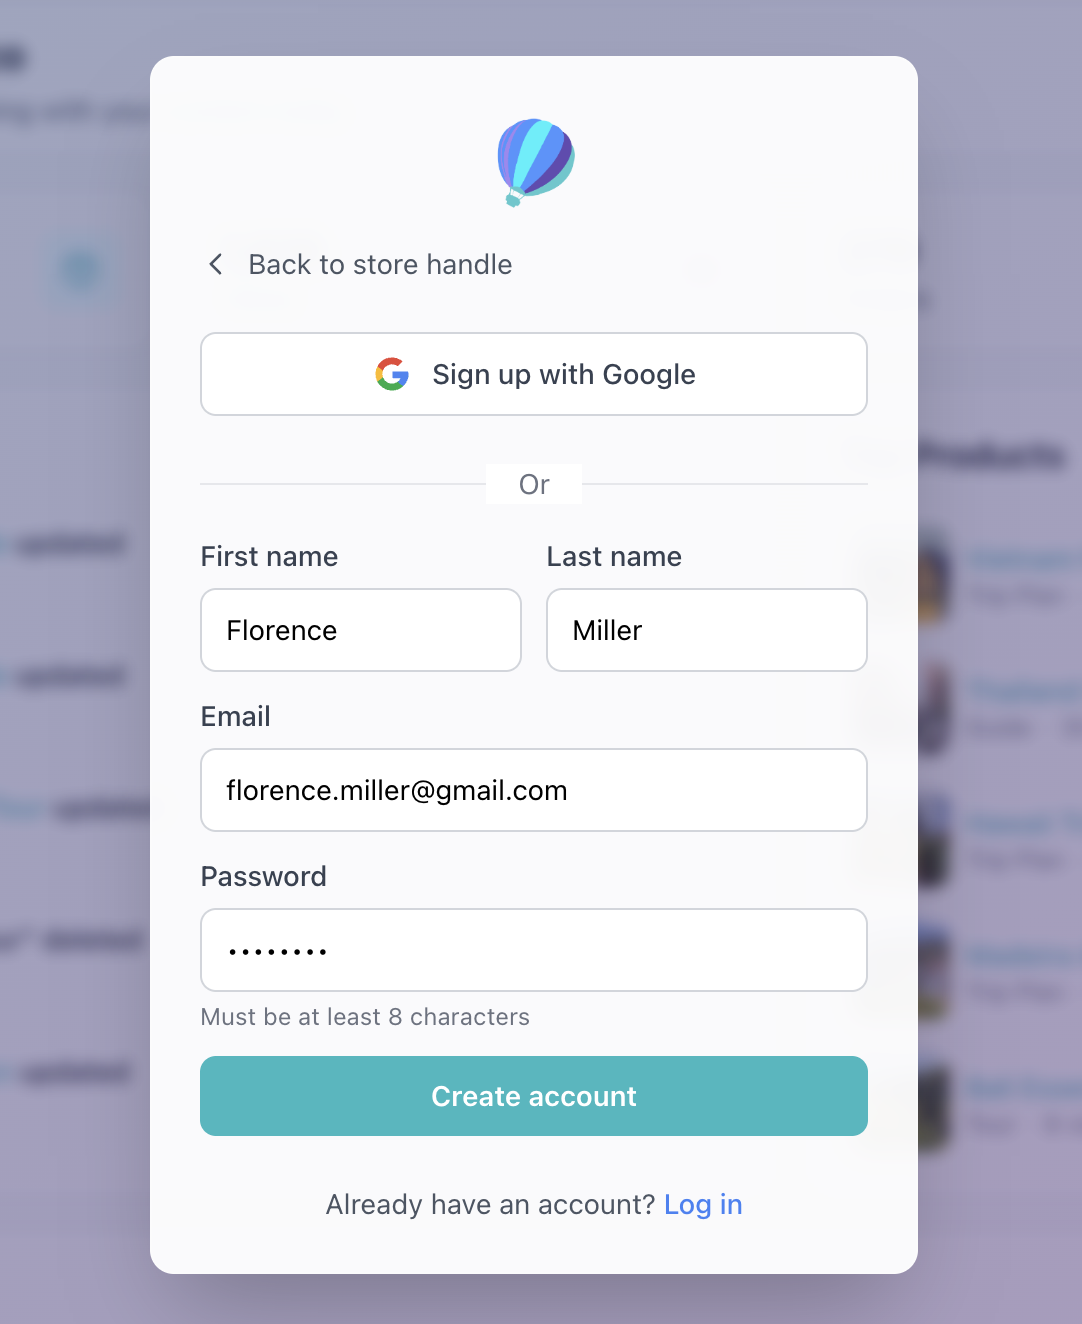
After selecting your store handle, you'll need to provide your account information:
- First and last names: Your full name as it will appear on your account
- Email address: A valid email you'll use to sign in and receive important notifications
- Password: Create a strong, secure password for your account
3. Verify Your Email
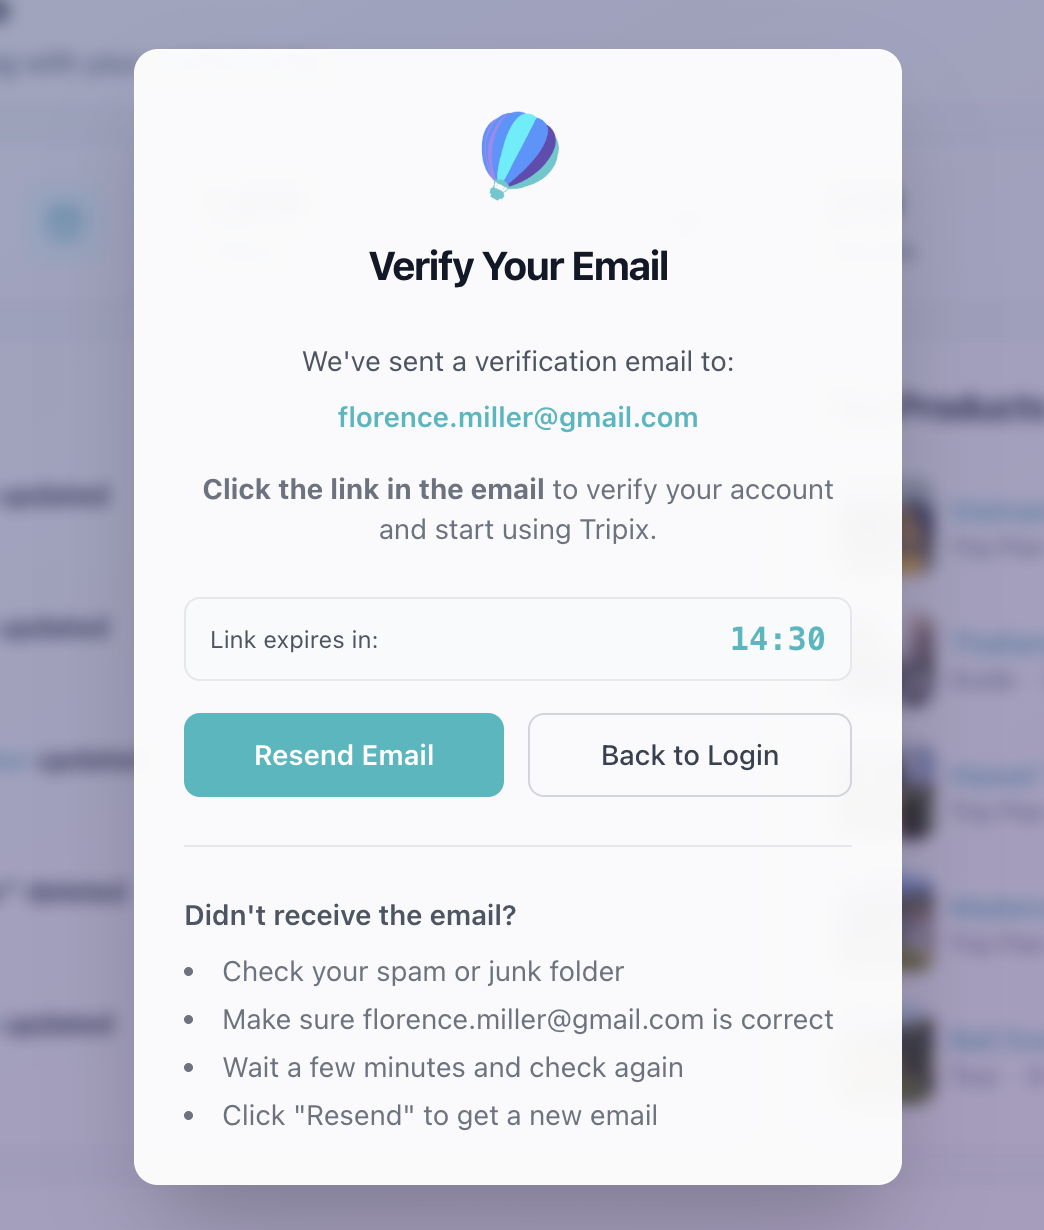
Once you've submitted your account details, you'll receive a verification email. Click the verification link in the email to confirm your email address and activate your account.
Alternative: Sign Up with Google
Alternatively, you can skip steps 2 and 3 and sign up with Google. This option will:
- Use your existing Google account details (name and email)
- Automatically skip the email verification step
- Allow you to get started faster
Simply click the "Sign up with Google" button and follow the prompts to connect your Google account.
4. Welcome Window and Getting Started
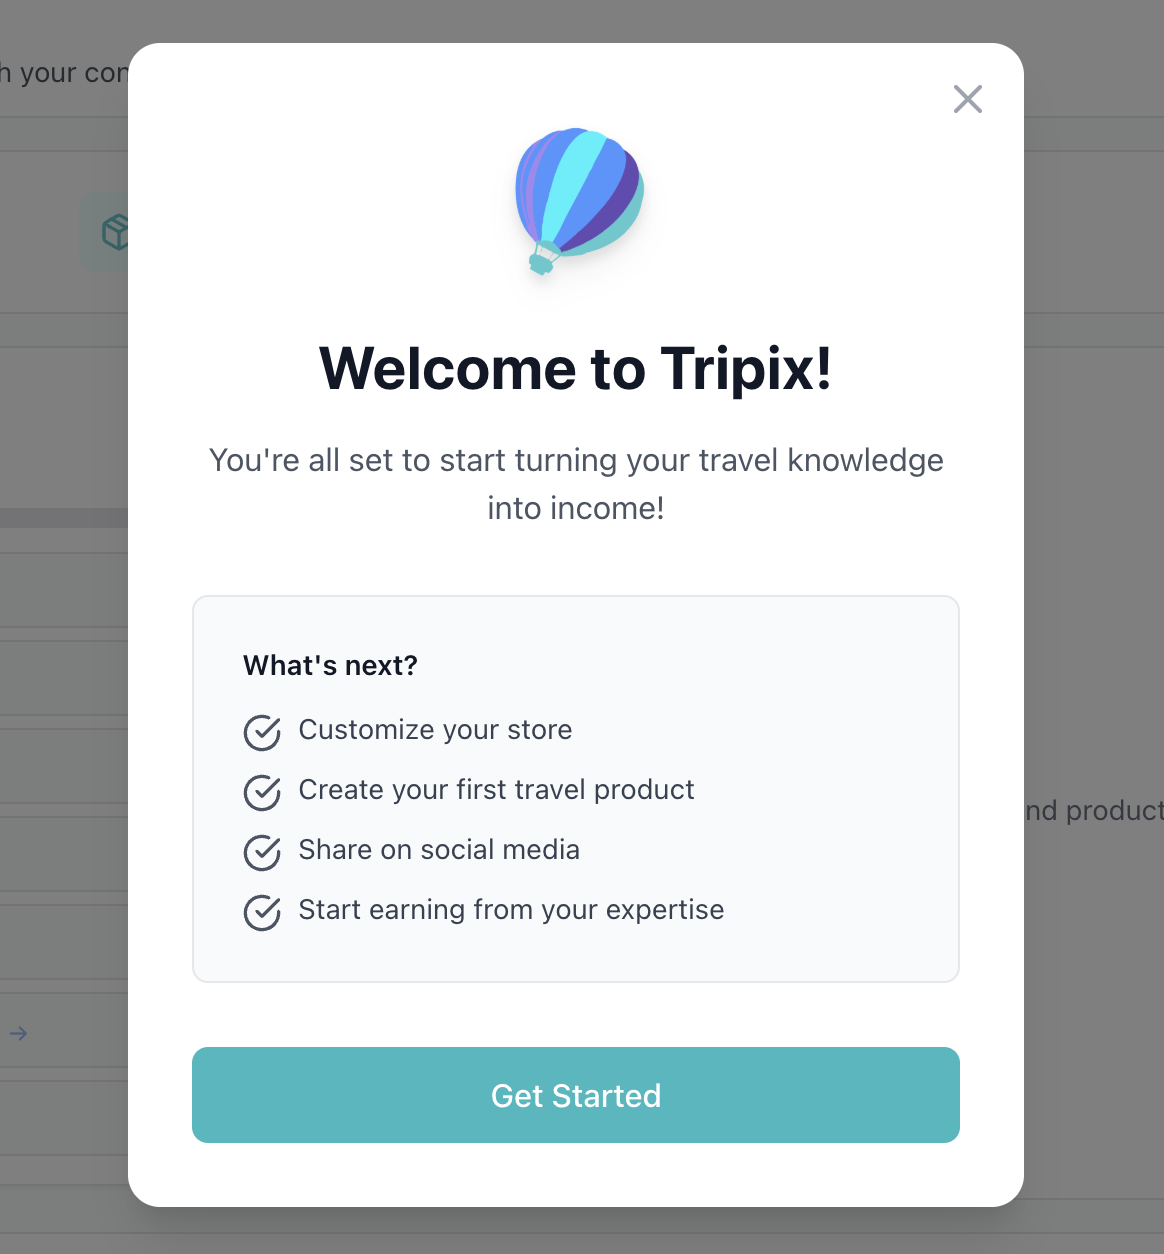
After completing the signup process, you will see a welcome window. This is your introduction to Tripix and will guide you through the basics.
When you click "Get Started", you can begin setting up your store and creating your first products.
5. Get Familiar with Your Home Page
After clicking "Get Started", you'll land on your home page. This is your central hub where you can access all the tools and features you need to build and manage your store.
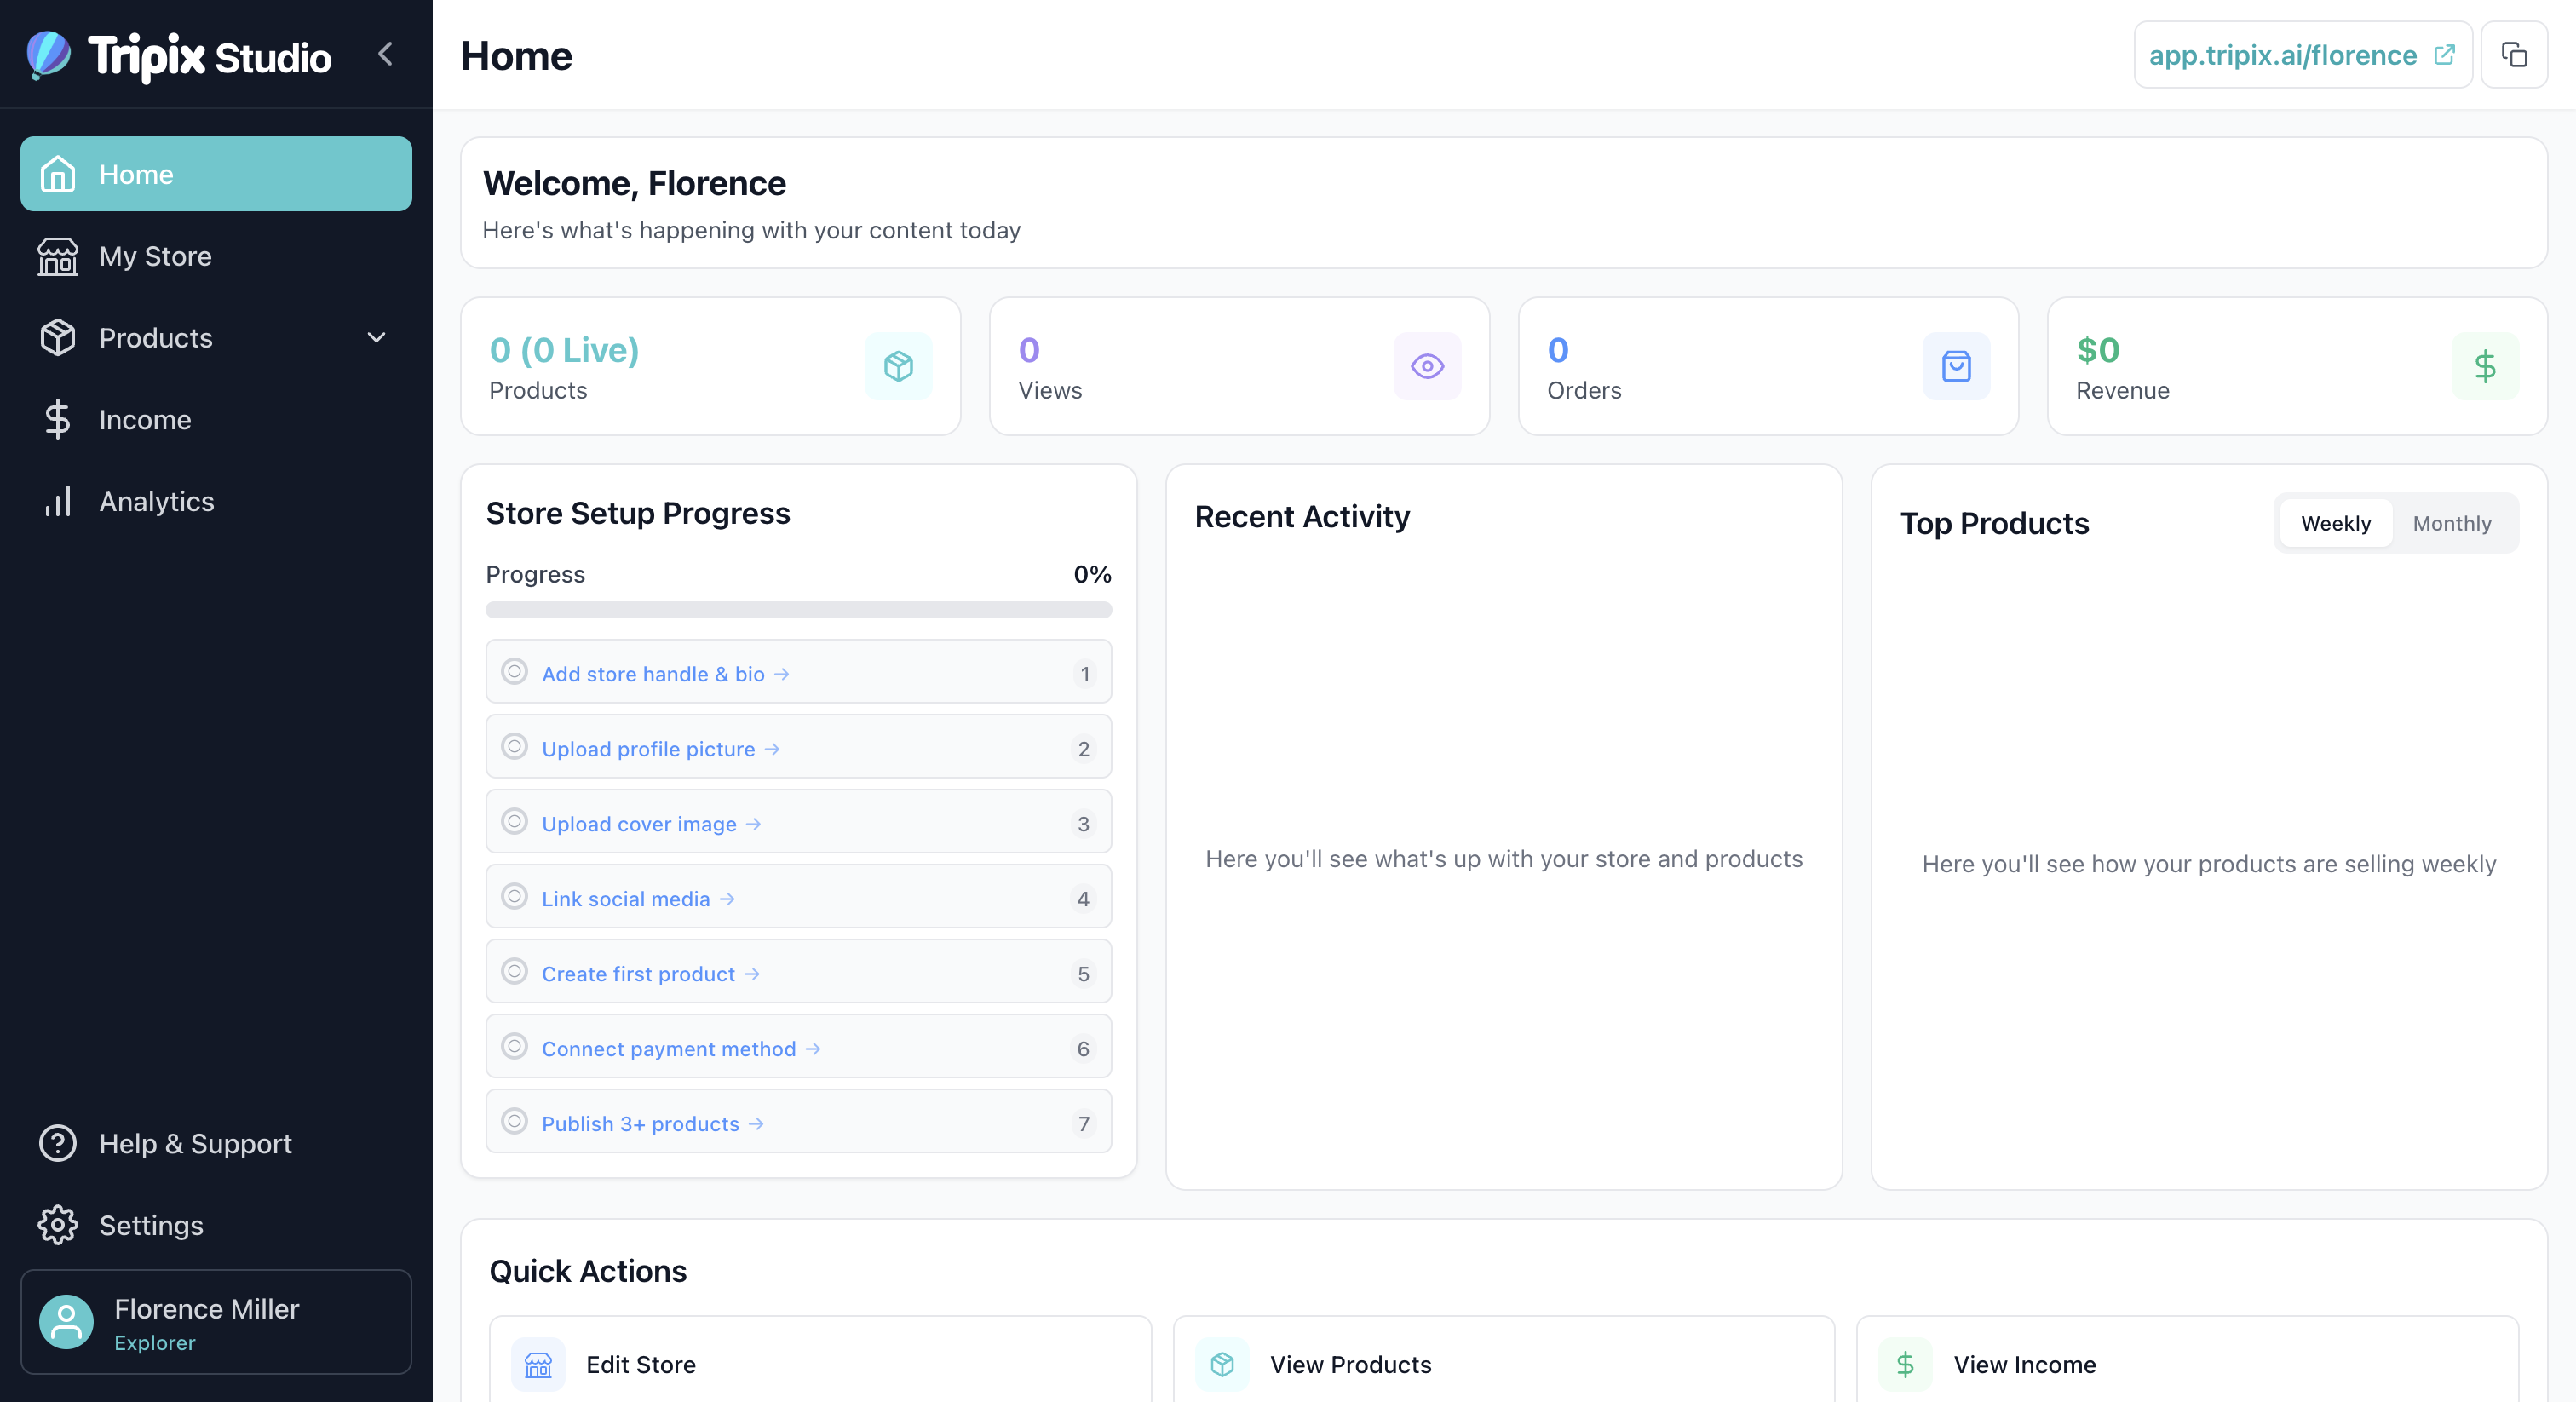
Here's a quick overview of the key components you'll find on your home page:
- Navigation Menu: Access different sections like "My Store", "Products", "Analytics", and more from the sidebar or top navigation.
- High Level Stats: View key metrics at a glance including your number of products, product views, orders, and total revenue.
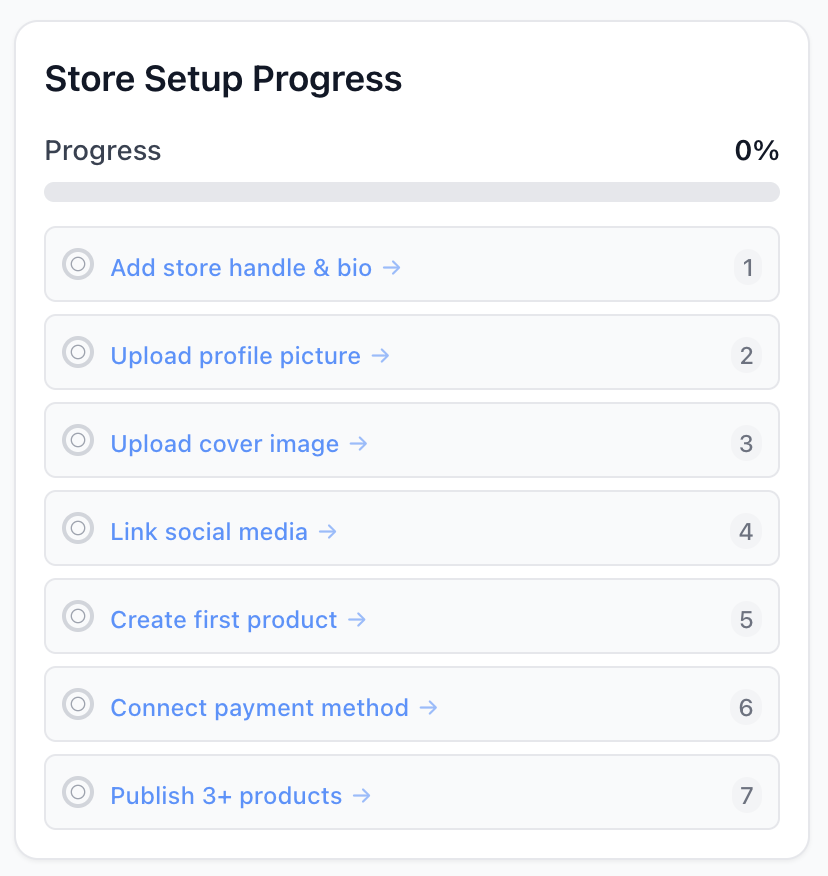
- Store Setup Progress: This section shows you how far along you are in setting up your store. It tracks important milestones like completing your profile, customizing your store design, and creating your first product.
- Recent Activity: See your latest products, sales, and other important updates at a glance.
- Top Products: Your top performing products this week or month, helping you identify what's resonating with your audience.
- Quick Actions: Shortcuts to common tasks like creating a new product or editing your store information.
The store setup progress section is particularly helpful as it guides you through the essential steps to get your store ready for customers. You can see which steps you've completed and what's next on your journey.
💡 Pro Tip
Your store handle is permanent once chosen, so make sure it's something you'll be happy with long-term. You can always update your display name, bio, and images later, but the handle stays the same.
Setting up your creator store
Complete guide to setting up an attractive creator store that drives sales